Tricks of the Trade
BEHIND THE MIC: THE AEA TRP RIBBON MICROPHONE PREAMPS


When positioning a ribbon microphone close to a very loud musical instrument, all of us have felt concern the ribbon might be damaged. That’s understandable. However, the loudness of the sound is not the issue. Ribbons can actually handle sound decibel levels louder than many condensers. It’s a blast of moving air that can damage the ribbon.
There’s a very simple way to avoid moving air with what we call “the hand test.” It will let you know how close you can safely position a ribbon mic near a sound source. By utilizing the hand test, you can record instruments as diverse and loud as kick drums, bass amp, screaming singers, taikos, and numerous other instruments believed to be too aggressive for ribbons.
Simply, place a hand where you want to put the microphone while the musician is playing as loud and hard as he or she will during the session.
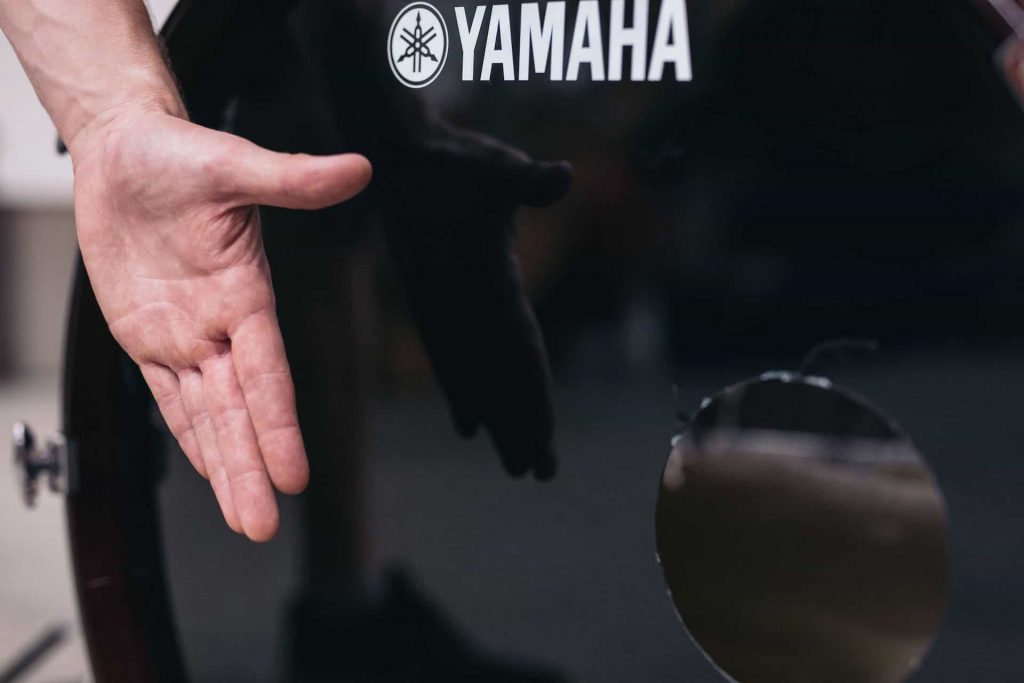
If your hand feels blowing air, move it away until you don’t feel any air. Once the air disappears, the mic is safe to place there.
If you are still concerned, slightly tilt the ribbon mic upward. This relieves the ribbon of some tension and allows it to take slightly more impact from air.

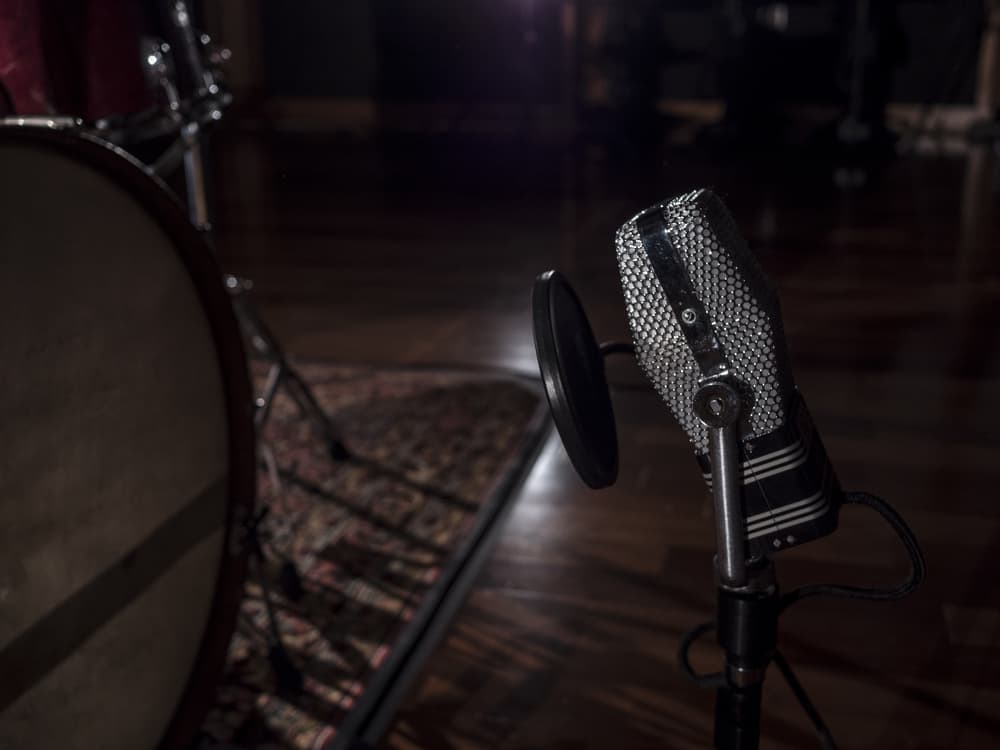
If you are still concerned, place a pop screen between the mic and the source.
The “hand test” works on all instruments and is a simple, effective way to get the best natural ribbon sound while protecting the ribbon element.

