How To Choose the Right Ribbon Microphone for the Job

For every source, there is a ribbon

With so many ribbon mics out there, how do you know which one to choose? AEA has designed and built a lot of different microphones over the years. Although each mic was made with applications in mind, our intention was to offer users a palette of choices to help them shape and tailor their sound to a specific artistic goal.

Not only does it help to know the fundamental differences between the ribbon microphones, but how to position them to get the best sound from the instrument being recorded. It’s much easier than many users might think but first requires the engineer to think about what effect he or she is trying to achieve. Here’s a brief primer.

Fix It In The Mic

First, listen to the instrument you are planning to record. Then listen to the room where the recording will occur. Does the sound of the instrument sound good in the room? How big is the room? Do you like the natural reverb of the space? Is this a solo recording or will the instrument need to fit into the mix with other instruments? These are all important questions to ask when choosing the right ribbon microphone and the correct positioning of that mic during the session.

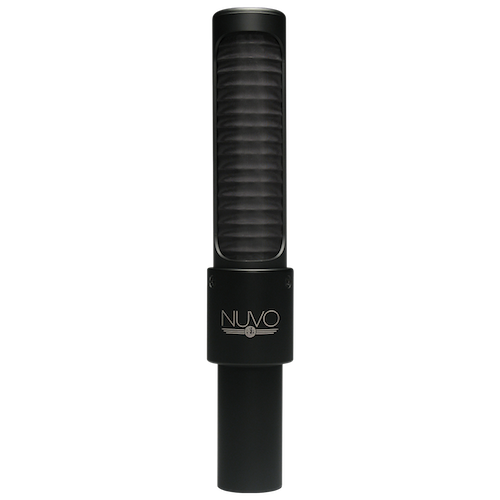
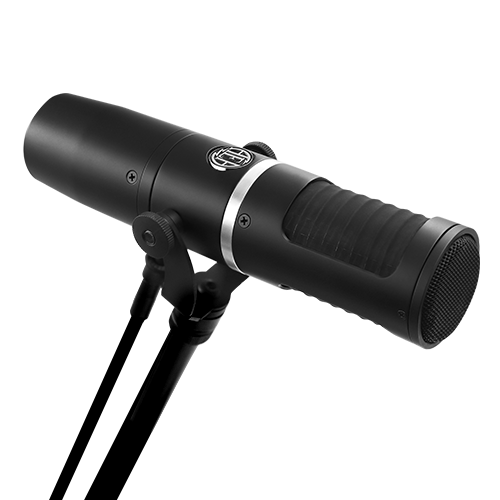
If the mix is dense, a more direct sound may be appropriate. Use perhaps an N22 or an R92, both near-field mics. These mics maintain a balanced sound from very close to the source and will capture a minimal amount of room tone. If the goal is to capture the pure direct sound of the instrument without any room tone, consider a supercardioid ribbon like the KU5A or the KU4.

Ribbon Mics
A Walk Around The Room

If room tone is desired, use a far-field microphone. Walk around the room and listen to the instrument as it is being played in the space. Find a spot where you like the sound. Focus on the treble-to-bass ratio of the instrument at that distance. Is there enough bass, mids, and treble? Do you like the amount of room tone? If it sounds right where you’re standing, set-up a far-field microphone at that spot.

In this case, an N8 or stereo R88, both far-field mics, might be appropriate, especially if you want to capture an extremely honest and natural sound. If, on the other hand, you want to add color or a more nuanced character to the source, the R84 or R44 are excellent choices.

Once the mic has been selected, place it in the spot you’re standing and listen to the sound through your monitors. If there is too much room tone, move the mic closer to the source. If more room tone is desired, move the mic away from the source. Also, keep in mind, far-field mics have a large amount of proximity effect that can be used to enhance the bass of the instrument you are recording when used up-close.

No correct answers

As one quickly learns, the whole process of choosing where to place microphones is trial and error. There is no right or wrong way to do it since the placement and the sound being recorded is totally subjective. There are a limitless number of mic choices and positions the engineer can make. The imagination is the only boundary and very often the unorthodox choice works best.

The artistry of using ribbon microphones is finding the sweet spot and making a unique recording that has a distinct sonic signature. Avoid trying to shape the recording electronically. Since the beginning of recorded sound, great records have been made by physically placing the right microphones in the best places.

Tricks of the Trade
Is a Ribbon Room Mic the Missing “Glue” in Your Recording?
Tricks of the Trade
Near-Field vs. Far-Field Ribbon Mics: What’s The Difference

Knowing the difference will change the way you record.

Tricks of the Trade
Four Places You Never Thought of Using A Ribbon 

This is a test.