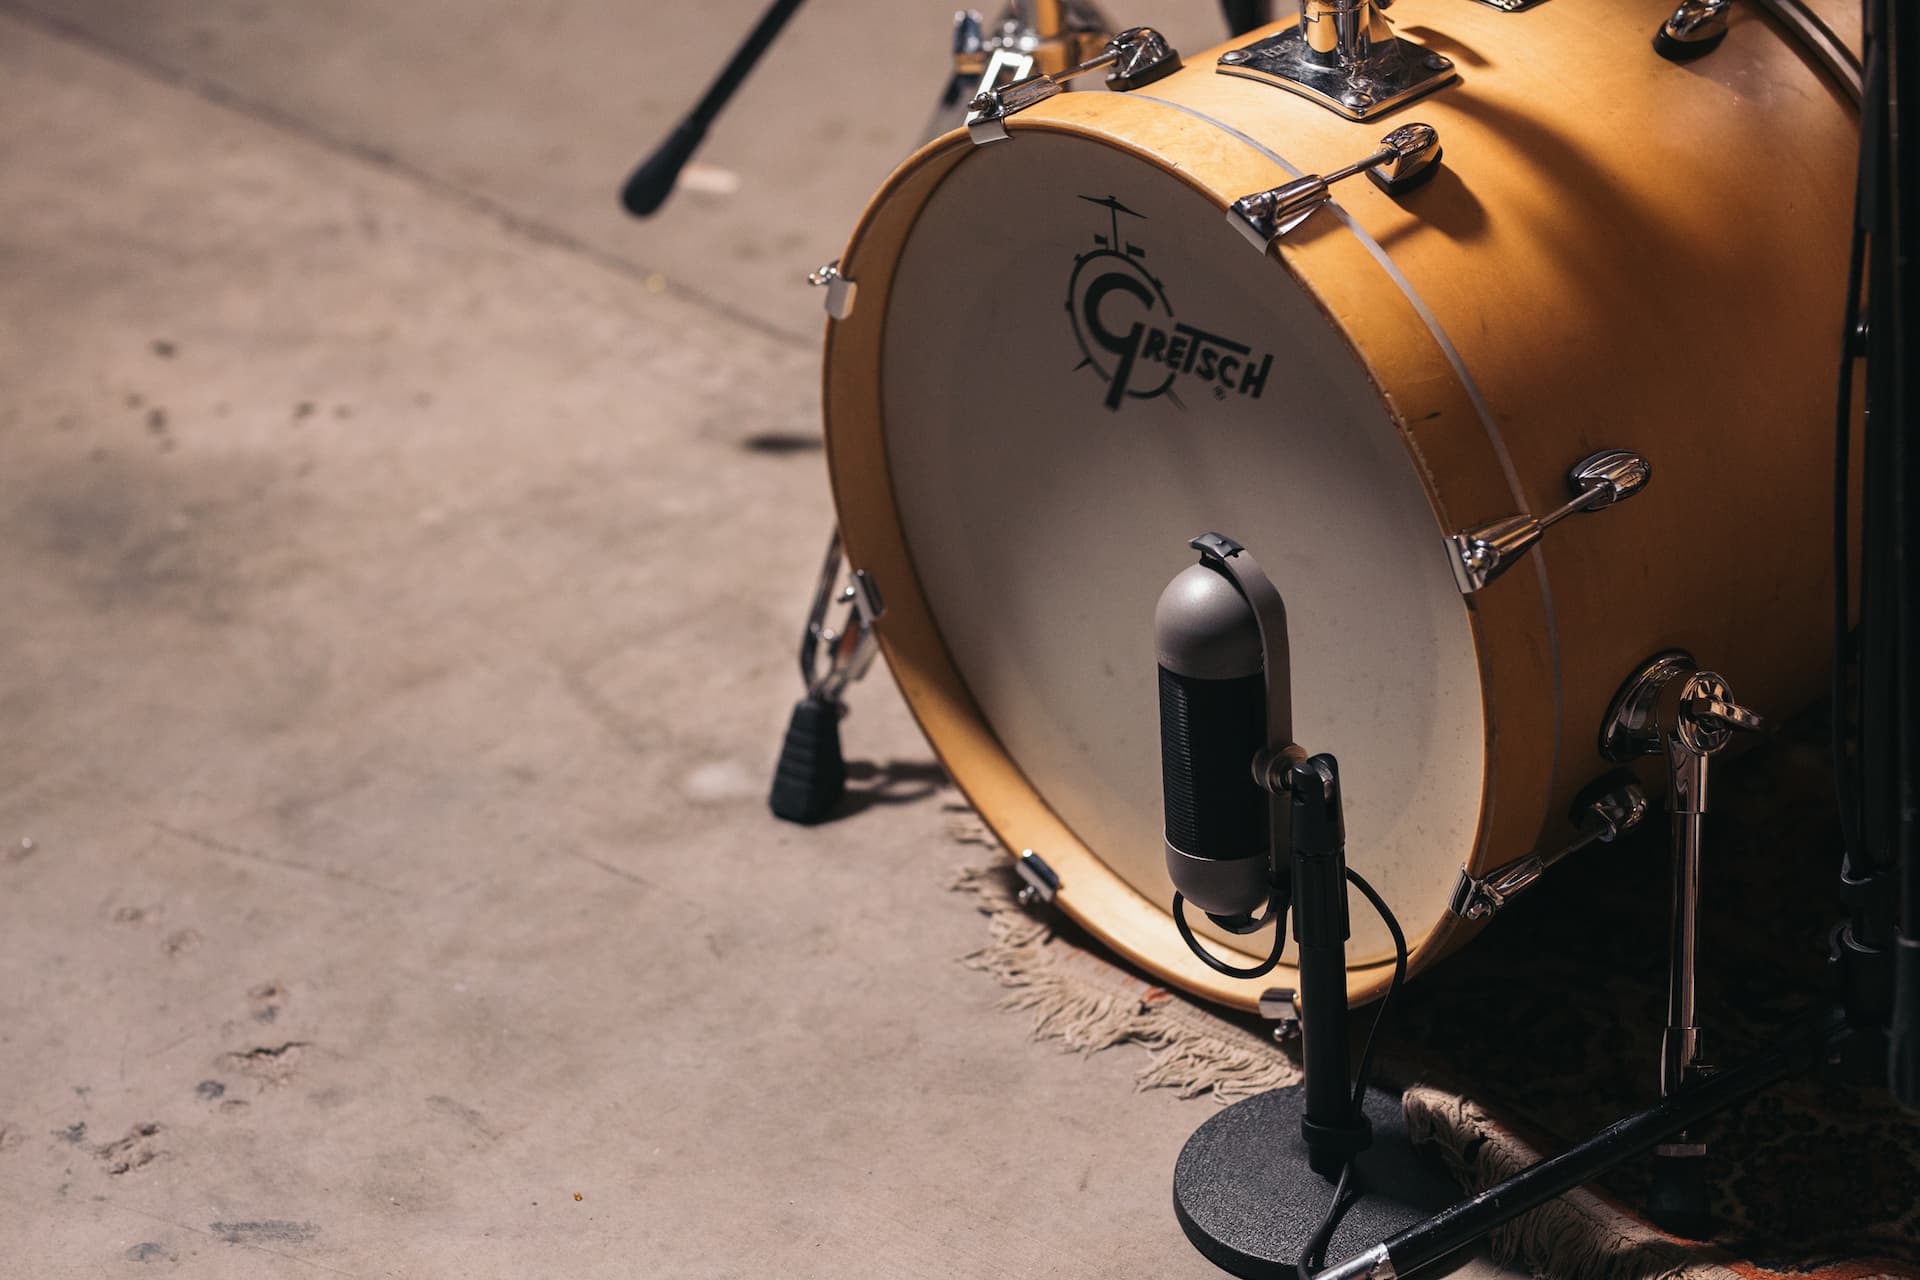
Ribbons have historically excelled at capturing a great kick drum sound; veteran engineers always reach for a ribbon mic when trying to capture a massive, detailed kick sound. The near-fieldR92 is no exception to that legacy. Its pronounced mid-range and balanced low-end make it the perfect tool for capturing a kick drum with limited room reflection.
The Hand Test
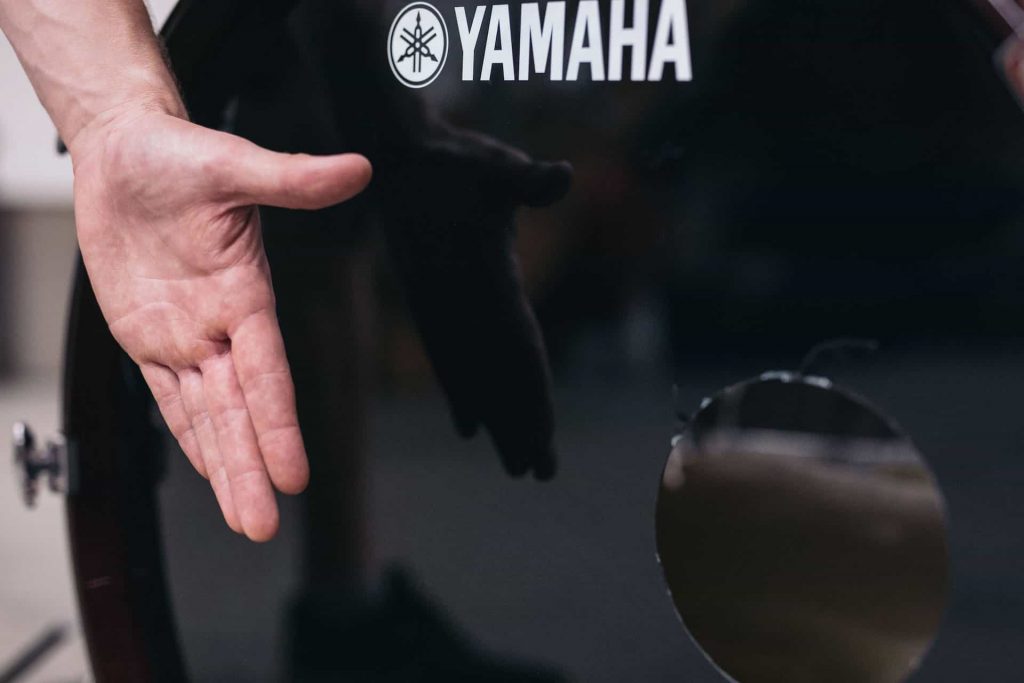
To ensure that the R92’s ribbon will not be damaged by strong blasts of air from your instrument, place your hand near the source and move it away until you can’t feel moving air, then place the R92 in that position. As an additional precaution, you can tilt the R92 slightly upward, thereby relieving the ribbon of some tension and allowing it to accept slightly greater air impact. A pop screen between the mic and the source is another method for preventing potential ribbon damage.
Close Miking
When recording a kick drum, try positioning the R92 between 4 and 16 inches to the side of the kick drum port. Within that range, moving the R92 closer to the kick will increase the bass response while pulling it away or changing the angle will lessen that effect.
On kick drum, the R92’s proximity effect will make your kick sound larger than you could have ever imagined. On its own, the R92’s low end may sound overwhelming, but in the context of a mix, its pillowy character is perfect for songs where the kick drum needs to breathe. Using ribbons on kick drum is a classic technique that has been used on countless records.