The R88’s extended low-end, natural tonality, and Blumlein configuration make it a widely popular choice for recording drums.
Ribbon Recap
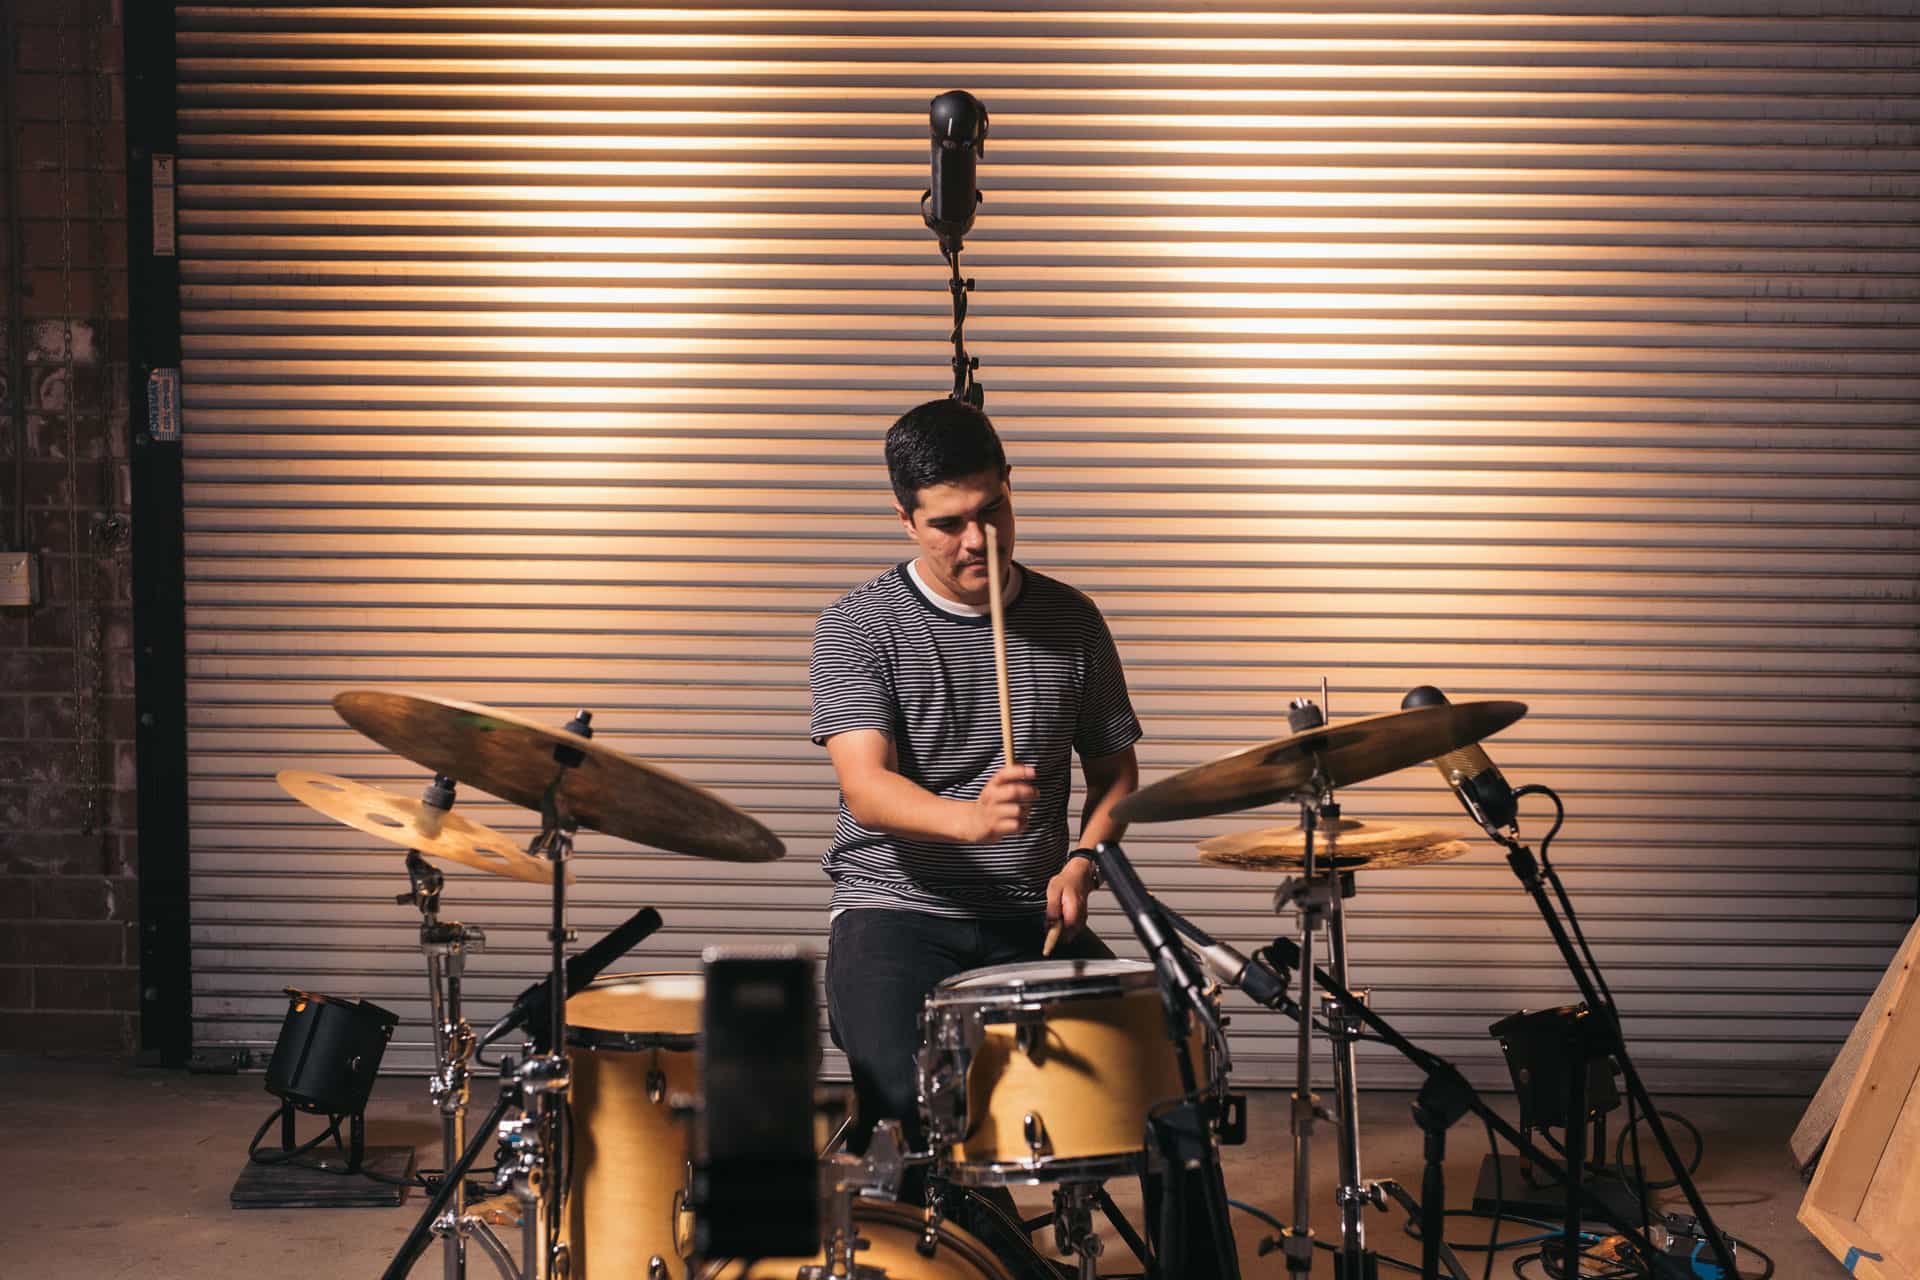
For overhead recordings of drums, try positioning the R88 4 to 6 feet from the ground with the microphone’s white center line pointed at the kick drum. This placement delivers a balanced blend of direct sound and room ambience with high-frequency roll-off to smooth potentially harsh cymbals. To increase the room tone captured by the R88, simply lift it higher from the ground.
Both ribbon elements in the R88 are aligned perfectly in phase. This allows you to pan each side of the mic however you wish though the starting point is normally hard panning each output.

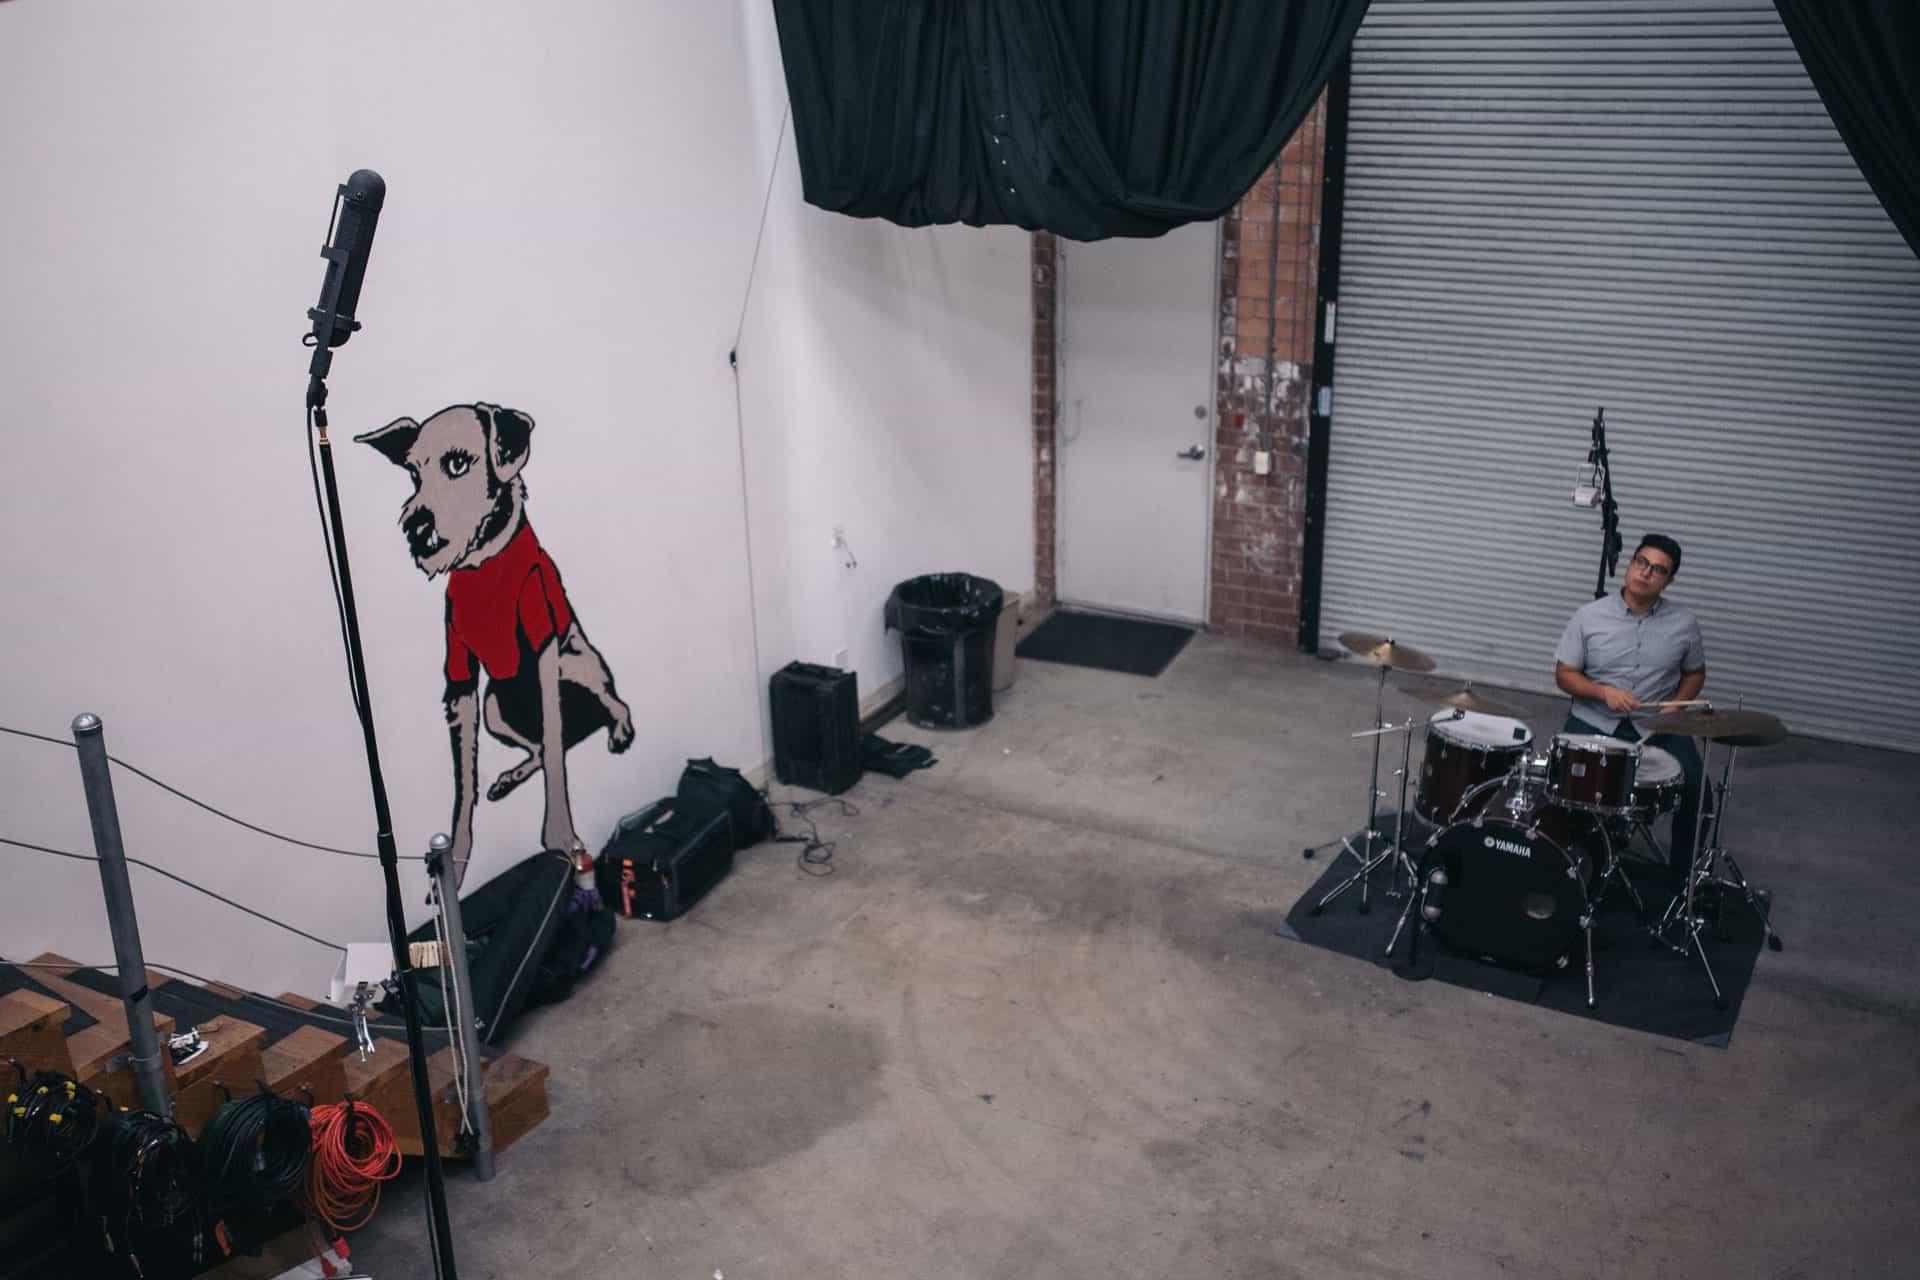
For different results position the R88 3 to 6 feet in front of the kit, roughly at the drummer’s eye level or lower. When blended with overheads this placement of the R88 serves to fill the center of the stereo spread, adding depth and dimension to a mix. In many instances, this R88 all you will need to capture the sound and image of your drums.
The truthful detail and extended low-end inherent to the R88 make it an outstanding tool for capturing the comprehensive sound of a room. Its far-field design lends well to recording sources from as far as 20 feet away while still retaining low-end response. Effectively positioning the R88 in a room simply requires exploring the space and actively listening to find the most balanced sound.
Much of a drum’s sound comes from the room it inhabits, so accurately capturing that room sound is vital in achieving a comprehensive tonality. With this in mind, experiment with the vast spatial range of the R88 and its great capacity for far-field applications. The closer to the group, the more direct sound and less room tone will be captured. To record more of the natural ambience of the space, pull the R88 further back. Finding the right balance of direct sound to room tone is an important part in understanding the R88’s full potential.
Mid-side technique is another popular method for recording drums that takes advantage of the null planes of the R88, capturing only the reflections of the drum kit in a room in one channel, and a direct sound of the kit in the other channel. This method creates a multi-dimensional, hulking drum sound that highlights the interaction between an instrument and the room.
Use the same placement of the R88 that you would in front of a kit or above the kit, but face one of the R88’s ribbon elements towards the drummer while the other ribbon element’s null side should point towards the kit. This alone is the basis of Mid-Side technique and can be utilized in most mixes without any further decoding.
The R88 is the ideal microphone to use for Mid-Side technique because the two ribbon elements are perfectly in phase.

The ribbon aimed towards the kit is considered the ‘mid’ mic. Alone, this channel of the R88 serves to fill the center of the stereo spread, adding depth and dimension to a mix, especially when paired with a set of overheads. This a popular position for many mono ribbons mics including the mono version of the R88, the AEA N8.
The ribbon element whose null is pointing towards the drum kit is considered the ‘side’ mic. Alone, this channel of the R88 serves to capture only the pure reflections of the drum kit in a room. Placing a mic in this position can add a natural reverb of your space that is impossible to replicate otherwise.
When used together in this configuration, both ribbon elements of the R88 will give you two independent channels that allow you to control how much direct drum sound and room ambience you want present in your recording.
For better mono compatibility, use a Mid-Side Matrix or your DAW to properly decode the two mic channels. A quick way to use Mid-Side technique in your DAW is to create three tracks. One track is for your ‘mid’ mic. The second track is for your ‘side’ mic that should be hard panned to the left. The third track is a copy of your ‘side’ mic but with its polarity flipped and hard panned to the right. The purpose of flipping the polarity on the third track is so that if your mix is ever converted to mono, the two ‘side’ tracks will cancel each other out. Using this technique or a Mid-Side Matrix is not necessary if mono compatibility is something that you are unconcerned with.
Engineer John Cuniberti aims to capture a band in one take, without edits or overdubs, but sound as balanced as a conventional multi-track recording.